 |
| The original path; functional but underwhelming. The flagstones were all partially overgrown with grass. |
So, with an hour or so to kill today while it has been lightly spitting snow, I figured I may as well finish up the front path. I gave you a little preview last week, and then picked up the sand and sorted out the flagstones earlier this week. You're in for a bit of a long post, but it's mostly pictures!
Let's rewind some, since the preview was missing a lot of the key work that had already been done. I have been planning to redo the walk for a while now. It isn't my favorite part of the yard, and while it functions perfectly well, I wanted to clean it up and feature the really nice flagstones more prominently.
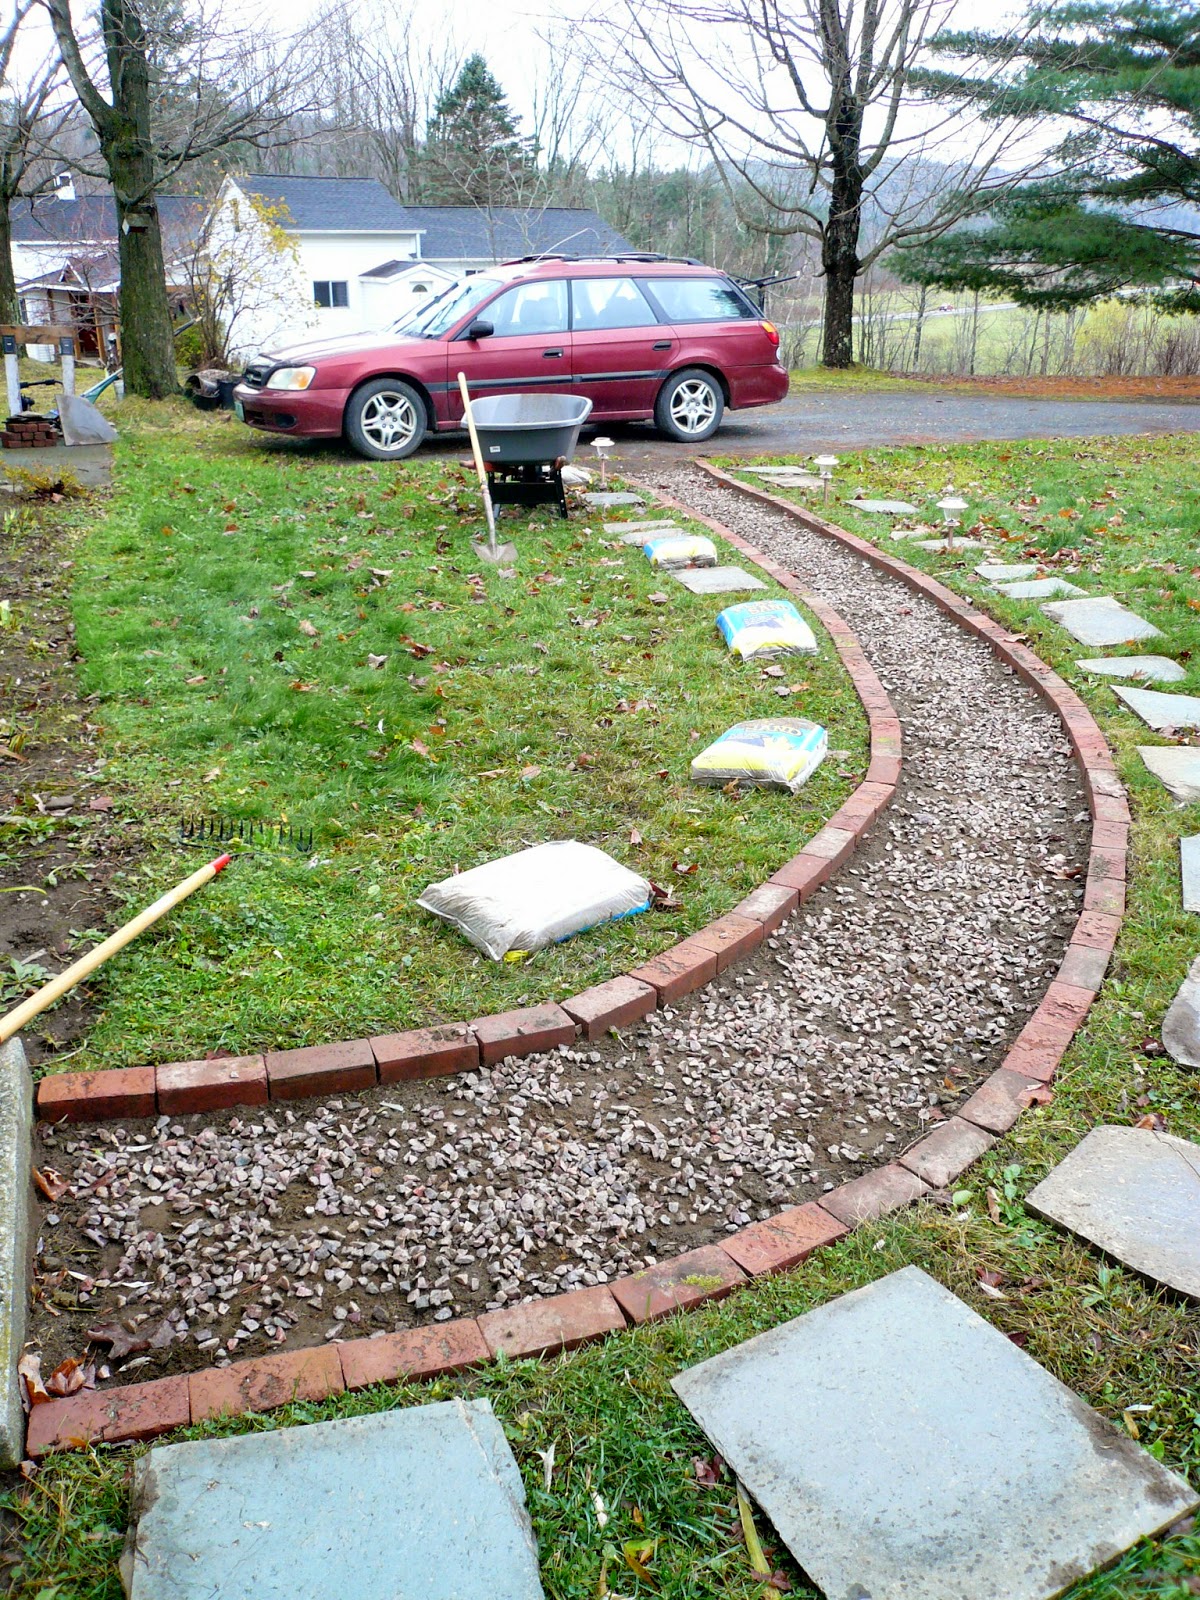
This summer I acquired a big ol' pile of 1-inch gravel that I planned to use to surround the flagstone. Add in some free bricks from my sister-in-law's mother, and all I ended up paying for were the five 50-lb bags of sand I used to help settle the gravel. I love low cost projects! I finally got motivated last week to get started. We're well into stick season, which means it could snow any day, and the temps were cooling off. Motivation enough to get the path done.
First things first. On Monday afternoon (the 27th), I pulled up all of the flagstones, leaving behind a nice patchwork of dirt squares. There were 18 flagstones, only five of which were cracked/broken. Those five were in big enough pieces that I was able to use just about all of them in the path.
 |
| All of the flagstones were larger (and heavier) than I expected, but in a good way! |
 |
| Did I mention it was windy, too? Maybe I should have raked the yard first. . . |
 |
| Hauled three wheelbarrows full to the dump pile |
 |
| It's getting there! And it's a great place to take a dirt bath if you're a cat. |
 |
| Given how much weight was in this car moving off the island, 50 bricks was no big deal. |
 |
| Practically perfect. (Ignoring the fact that the picture itself is not level. Sorry OCD readers.) |
 |
| Still level, all the way to the end. That's how I roll! |
On Tuesday I went to vote, then picked up 5 bags of sand, which was an estimate with no basis other than eyeballing the bags at the Garden Center, and pretending I knew how much space 50 lbs of wet sand would take up if it were roughly an inch-ish deep and about 15-or-so inches wide. I know I could have easily done some calculating, but that takes the fun out of it!
Today I got back to it. I added some of the gravel to help take up space and level some of the uneven spots. I added one bag of sand at a time, spreading it out and settling each flagstone in, adjusting the sand as needed to make them somewhat even and level to each other. The fact that the sand was damp worked to my advantage as it was easier to build areas up or settle the flagstone in.
 |
| Five bags will definitely fit. . . |
 |
| There may also have been some jumping up and down on the flagstones, which is definitely what all the pros do to make sure each flagstone is level. |
 |
| Dump sand, rake sand, place flagstone, adjust flagstone. Repeat. |
 |
| ALMOST THERE! |
 |
| TA-DA! |
To this:
I totally impress myself sometimes!
All told, the project probably took me fewer than 8 hours, which easily could have been accomplished in one day. No big deal, though, because I was able to fit the work in around school, the time change, and life in general. I have a little bit of flagstone left, as well as some gravel, which I really need to move before it snows enough that the plow guy comes. I can easily use both in several places, like the drip edge of the house, or around the entrance to the shed, or out back to start building out the patio area. This is probably the last of the outdoor projects for the fall, but certainly not the last project in general. Next up? Painting the bedroom and guest croffice, along with some rearranging of the two spaces.


No comments:
Post a Comment